Adobe and Stucco … and EIFS? Oh My!

It was the early-’80s and building performance via better insulation was taking a hold in the Tucson, Arizona, market. We were using foam boards on the exterior and coating over it with stucco, both versions; one coat and three coat. Being a relative newcomer to the stucco industry and having not yet been introduced to my BFF, EIFS, I thought stucco over foam was the best cladding ever.
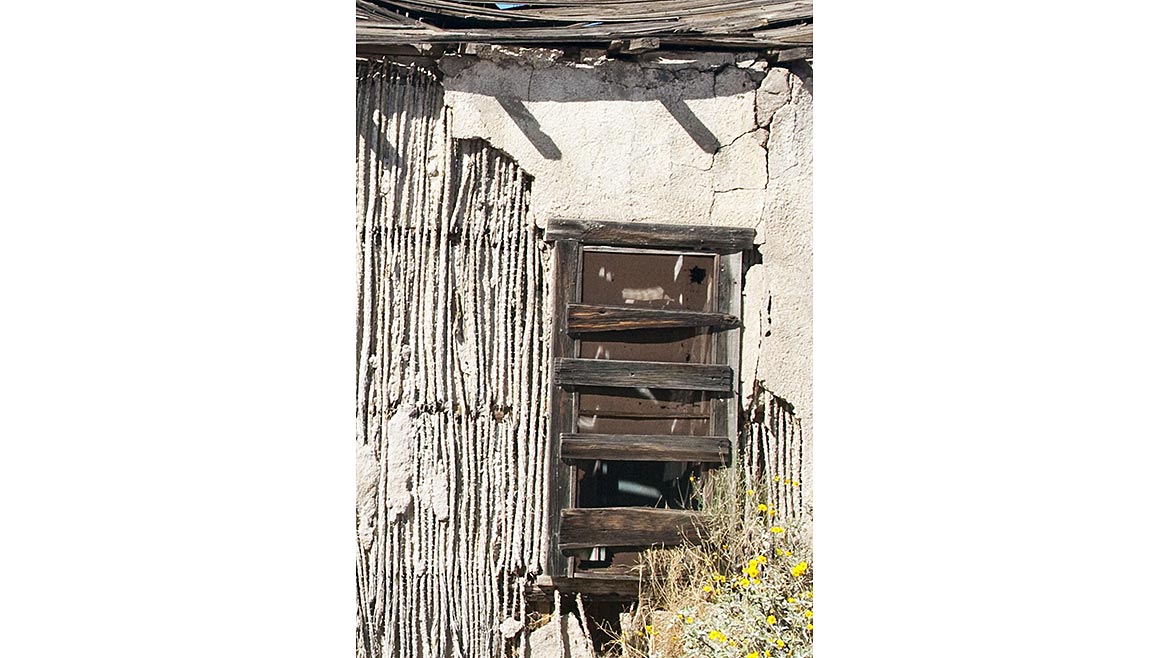 An example of Ocotillo used as framework for the Adobe mud.
Image Credit: WWCCA
If we were to go way back to the “missionary” period in Arizona, the Native Americans of that area, the O’odham, had insulating construction figured out. They built with what they had; water, dirt, grass, ocotillo and mesquite. It was an earthen construction, as old as the Pharaohs, combining the water, dirt and grass to make blocks known as adobe. The adobe blocks were then laid in a running bond pattern, cemented with more of the same mud. Some notable buildings around Tucson are San Javier del Bac and Tumacacori churches. What made the Arizona soil perfect for adobe bricks was a rock called caliche, a calcium carbonate that made the bricks very durable when added to the dirt. It is common knowledge that adobe wall construction is an excellent thermal insulation construction method. The point is that insulating buildings is not a new thing.
Our new building code requirements in framed wall construction, coupled with “it’s just the right thing to do” attitudes, are bringing high performance thresholds into the realm of how buildings are constructed. In other words, added insulation to the exterior is just the norm now. So, what we are seeing is a myriad of assemblies in the stucco over foam segment. Although tenets have been established in stucco assemblies (sheathing, WRB, accessories, fastened lath, stucco, in their respective orders of installation), the “order” gets mixed up when foam is incorporated into the assembly. The WRB is being moved from the back side of the insulating layer to the front, or a WRB sandwich with the foam being the “meat” is constructed, or yet further a second wall is added with the foam between additional members and another layer of sheathing. I going to admit that I am no engineer and can only write about what I know about all of this through experience, but I have to question; who is watching the industry on this?
Through conversations with the industry technical bodies, we have seen an increase in cracking in the stucco when applied over foam insulation, but not on all of the projects. When the lath and stucco are applied over a layer of WRB over the foam, the cracking seems to be higher than when the stucco is applied directly to the foam (WRB below the foam). I take umbrage with this WRB over foam practice because all of the fasteners going through the WRB over the flexible foam don’t allow a watertight penetration. Of note, an increase in cracking also occurs when a WRB is applied to CMU masonry walls, then the lath and stucco are applied. As plasterers applying stucco over foam, we always ran the WRB below the foam (and never used a WRB on block construction). We followed the “order,” fitting in the foam between the WRB and stucco, with the fasteners going through the foam and into the framing members.
Fasteners and the “Cantilever”
I wanted to title this paragraph, “Why cantilever alone.” It’s a bit of a groaner, I know. So, when constructing these insulated stucco assemblies where the fasteners are going through a thickness of foam insulation to support the weight of a stucco cladding, there is concern that there is a cantilevered effect. A cantilevered effect could cause the fasteners to bend to the point of failure. There is prophesied a catastrophic failure with the cladding falling off, ergo a requirement for a second wall assembly. When I asked the thinking behind a second wall assembly, it was explained that the lath attachment point would be hitting a mechanically attached member.
Since the foam is sandwiched between these members and behind an additional layer of sheathing, it would prohibit a cantilevering failure. A two wall sandwich assembly with sheathing as the bread and the foam as the meat.
Google says: “A cantilever is a rigid structural element that extends horizontally and is supported at only one end.”
The key value in relation to a fastener going through an insulation product, such as foam, is “supported only at one end.” The foam surrounding said fastener is also a support and by physics alone prohibits a cantilevering effect. Added to this is the requirement of ASTM C1036 to fasten every seven inches along framing members, more fasteners and more support from the surrounding foam.
Allow me to paint visual for your mind’s eye: take a 6-inch board and have one inch of it rest on the top of a table with the rest hanging out from the edge. On the one inch resting on the table, place a one-pound weight. The board is cantilevered and supported at a single point to stay in place. Now put a half-pound weight at the end hanging out in space. The wood will stay in place. Add another half-pound and another until the weight causes the board to fall off the surface. Notice that the weight caused the end of the board to fall in an arc, inward toward the desk. In fact, the weights themselves fell slightly inward too. This is an example of a cantilevered object failing to hold weight.
Now, in your mind’s eye, put the board back on the table with the one-pound weight holding it up. Place a 2x4 (6 inch) piece of foam against the table, allowing the board to stick through the foam, and secure the foam to the leg of the table with tape. You can’t let the foam sit on the floor because it would bring in the floor as a supporting element. Now, start loading the exposed portion, the cantilevered end, of the board with weight. You will be able to load a lot of weight without causing the board to cantilever to failure because the foam is holding it up.
Accessorize your stucco cladding
ASTM C1063 calls for the use of accessories such as weep screeds, control and/or expansion joints, corner trims and casing beads. All of these perform a function and are included in the stucco assembly as a must-have or tenet to successful stucco installation. With the addition of a foam insulation where the lath is fastened through the foam, the challenge then becomes the integration of the accessories. Some of them, like the casing beads and weep screeds, should encapsulate the foam edges so as to offer some protection for the raw foam edges. In the final phase, where sealant is installed at the perimeters, a finished surface other than raw foam is needed for good adhesion of the sealant. These increased dimension casing beads will likely have to be specially made for the thickness of the foam being used.
The control joints could be placed on the surface of the foam, but the expansion joints need to be fastened directly to the substrate and encapsulate the foam edges to allow for the required movement within the cladding. In this case, only back-to-back casing beads would work because I know of no mass-produced expansion joint that has an allowable stucco thickness dimension larger than 7/8 inch. Corner reinforcement accessories are either wire tied to the lath or fastened to the framing members below (this can be challenging when thicker foam is used).
Some Final Thoughts
I have seen and even applied a number of stucco over foam, fastened through the foam claddings in my career. In fact, in the Southwest Region, most homes, even the mansions, are clad with one coat stucco over tongue and groove foam. It is given there is cracking on these homes to varying degrees, but mostly I attribute this cracking to the application of the cladding; too fast, too thin and lack of wet curing (another article). I am not against stucco over foam, and it has a successful proven track record. But when ordinances and performance criteria are mandated for construction, some contractors and applicators just aren’t familiar with how to properly construct the assembly or don’t have much experience in doing this type of assembly. I don’t fault them; you don’t know what you don’t know.
And as for the two wall construction method, I submit that if one wall isn’t sufficient, why add another? Hopefully my mind’s eye example of cantilevering has put to rest the visions of cantilevered failures. When it comes to installing a good exterior insulation cladding, there is a proven and time-tested solution. Let me introduce to you to a friend of ours—EIFS.
Looking for a reprint of this article?
From high-res PDFs to custom plaques, order your copy today!


