The Puzzle of Stucco (Part 1)
The Pieces Of The Puzzle Needed To Finish Your Stucco Project.


The use of an exterior stucco system has many advantages over other exterior claddings. It is popular for many reasons, some of which are the durability, insulation, fire resistance and the versatility of the designs. The popularity of stucco has produced a competitive market, especially in the residential sector. Decades ago, stucco homes were usually constructed in high end neighborhoods. Today, production builders love the classy look of stucco homes and they desire it in many of their developments. The look of stucco brings good returns and sells homes.
To be fair, there are some things to consider when using stucco. These include: the cost for quality lath and plaster materials, the cost of skilled contractors and the consequences both of those disadvantages bring. With cheap labor comes increased risks of concealed damage that may occur if “all of the pieces” are not constructed as a unit. (When I say “pieces,” I mean the entire wall assembly.)
A successful stucco system, when it performs as intended, does require knowledge, a high level of skill and a thought process that ensures the components are assembled and sequenced correctly to serve as a barrier against the elements. The actual application of plaster is an art and one learned by working it. Which is why hiring experienced labor is important: It provides the ability to flag any issues when installing before any issues arise later.
Code compliant stucco applications are the bare-bones minimum of any structure. The performance of this system relies heavily on all the other building materials that interface with the stucco. These pieces comprise the entire wall assembly. Get used to those words “wall assembly” now, since this series will be focusing on that. We will discuss how the components come together as a unit and how the wall assembly can determine the success of your stucco home.
Connecting the Pieces
All wall assemblies, like puzzles, have a certain number of pieces. The pieces of a wall assembly include everything from the stud frame, sheathing, flashing, water resistant barriers, self-adhered membrane, sealants (and everything in between), to the stucco finish coat. And just like puzzles, when and only if you connect all the pieces correctly, will you be able to see your wall assembly in all its glory.
When stucco issues arise—including cracks—everyone is quick to point the finger at the plastering contractor. Oftentimes, building pathologists will find deficiencies in another component of the assembly that had a direct impact on the stucco membrane. Some of the challenges the industry faces are wood framing and sheathing, improper waterproofing measures, bad window detailing and lack of proper flashing installation.
Owners and builders often have limited knowledge of the stucco assembly. For the most part, the stucco system will perform well if everything else does. What’s behind the stucco is a bigger concern and should command a lot of the builder’s attention. How the structure is assembled and waterproofed prior to lath and plaster is also critical to the stucco’s performance and service life of the home.
In my opinion, the work prior to lathing is also part of the assembly. Upon the lather’s arrival, they should be able to expect that all work done prior to their arrival was done correctly. The lather should not have to double as the inspector.
The substrate should be engineered to have a maximum deflection of L/360. It should be constructed to be plumb and true (straight) to within 1/4 inch per 10 feet. The wood sheathing should be installed correctly. The building should be waterproofed before the lather arrives.
As we get deeper into this discussion, it is important to point out, that this is specific to the Houston area, classified as Climate Zone 2. Our weather is hot, humid and wet. All suggestions are based on my experience in this region. Other areas may have different techniques or requirements.
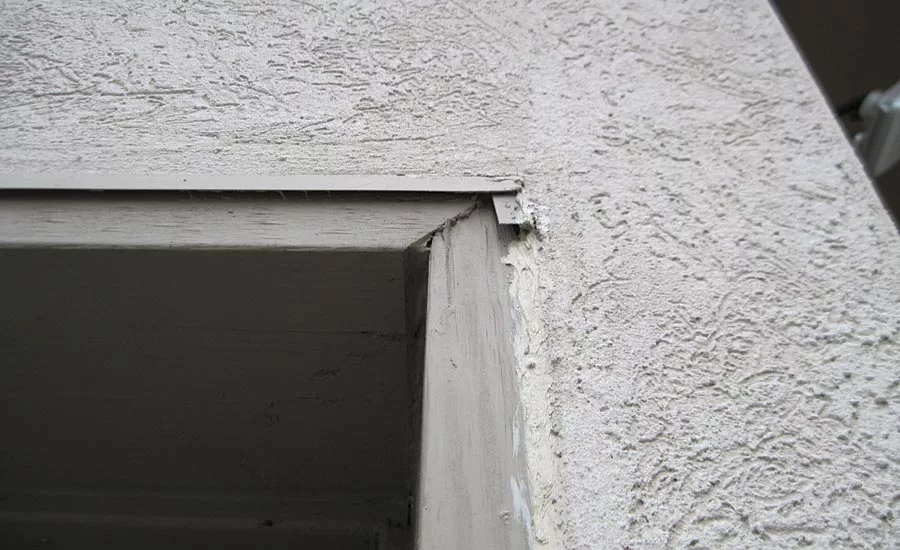
Corner Pieces
Illustrated here is an example of what some framers leave for the next craft. Corners like this are contributors to cracked stucco corners, especially with over-driven nails and a little water.
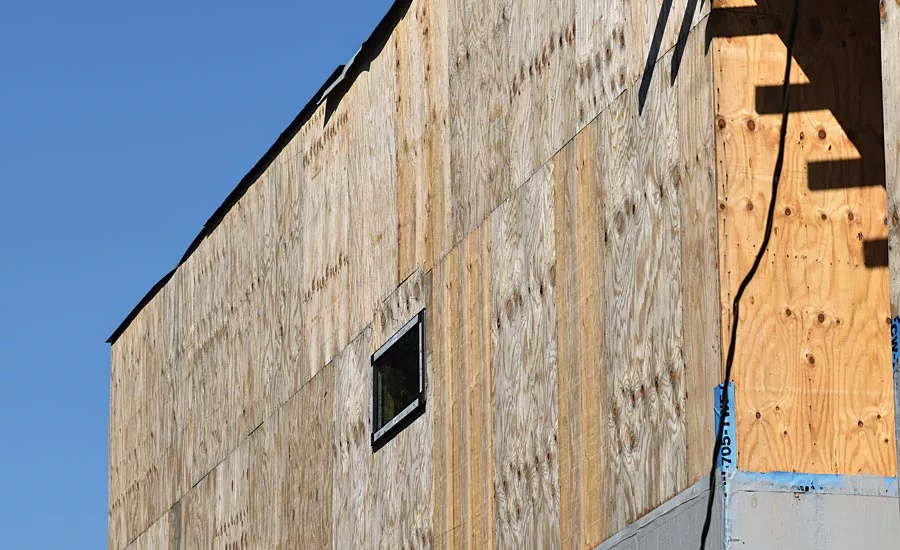
This substrate also serves as the receiver for the WRB and flashing. The quality of the substrate can have an impact on the performance of the stucco system and the WRB. Most stucco is applied directly against the substrate; thus, the back plane takes the shape of the wall. The WRB and properly integrated flashing details are what protect your home from excess water. A good sheathing install can promote a good WRB install, whether it be a sheet membrane or fluid applied.
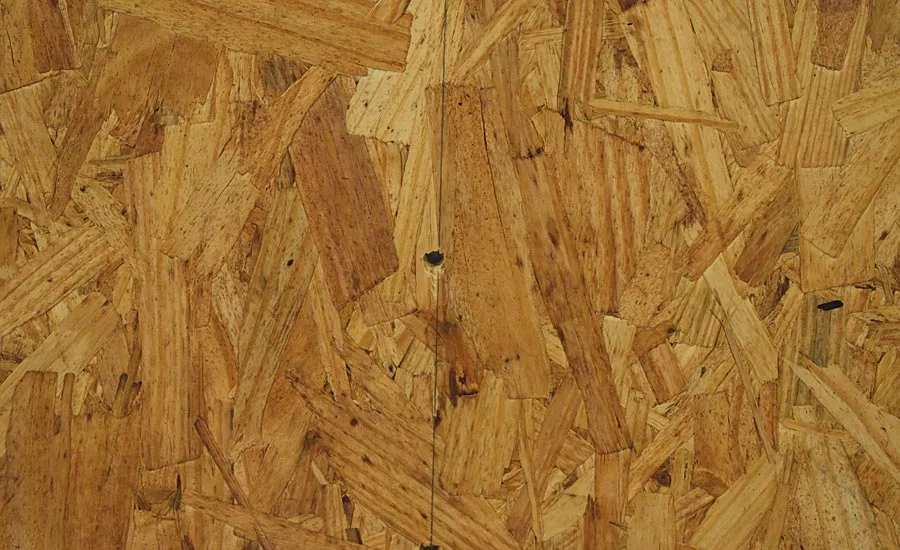
- Plywood installed per APA Q370G doc *(avoid OSB in Zone 2)
- Blocking at horizontal seams
- Sheathing protected from moisture
- Sheathing minimum 5/8 inch
- Sheathing edge 12 inches from right angle openings
- Sufficient fasteners/sheathing tight to frame
- Fasteners flush/not over driven
- Corners crisp/clean/straight
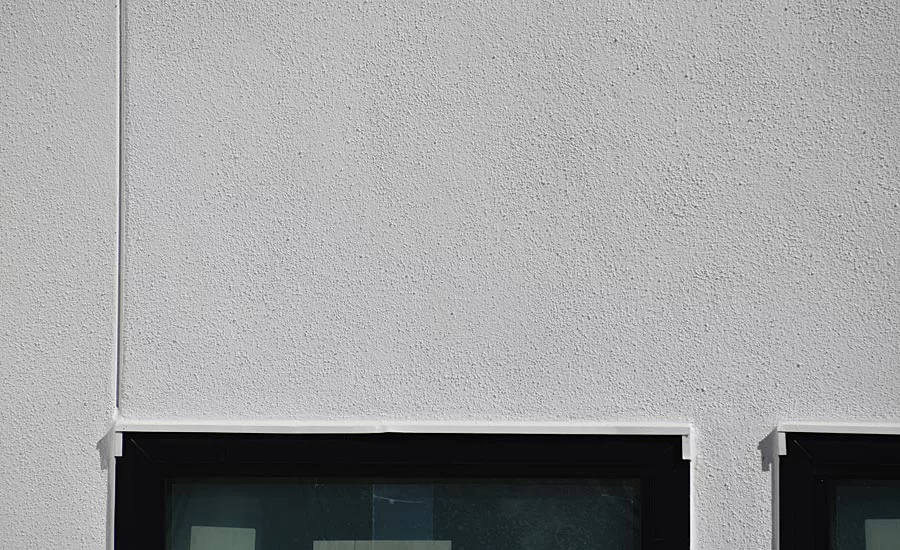
Edge Pieces
Together, flashing and WRBs must have the ability to direct water out of the system as the last line of defense. The wall depends on the marriage of these components. Water must weep out at the WRB layer or diffuse through the stucco. WRBs are not engineered to remain wet.
- Window/door head flashing
- End dams used
- Windows installed correctly
- Ledger/deck flashing
- Counter/step flashing
- Receiver flashing
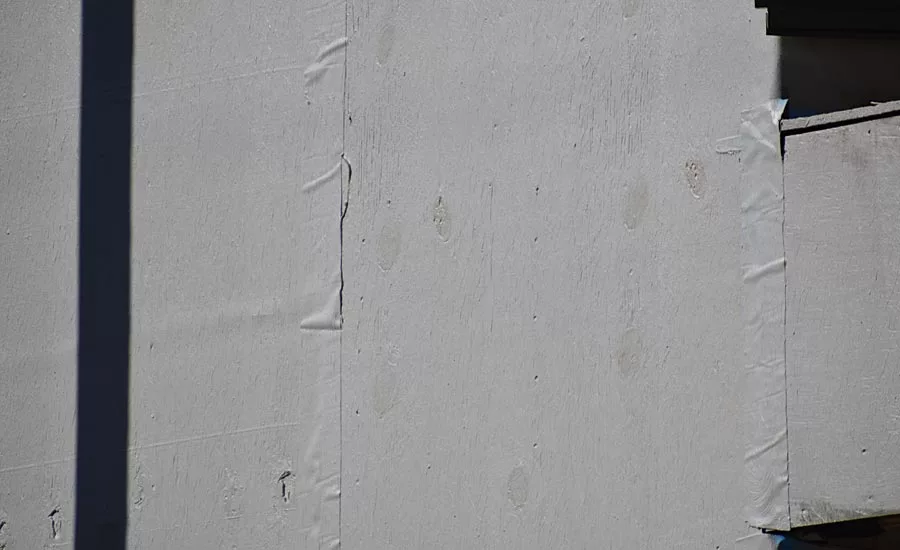
Wrinkles in the sheet membrane will collect moisture. The WRB membrane also has exposure limits. Sunburned and over exposed sheet membranes lose water resistance and collect surface contaminants that may affect other components.
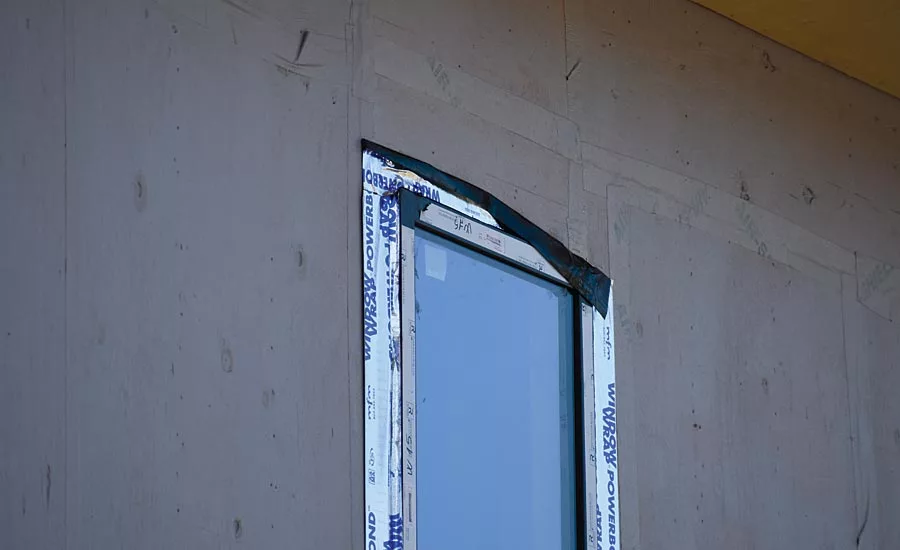
Window head flashing should have “end dams” that turn upward, to direct water out as the code requires.
Turning flashing down directs water into the system. Such as:
- Start with a good foundation for your stucco. It should provide an exterior that lasts the life of a structure with periodic maintenance. Stucco must work in harmony with the WRB and substrate.
- Self-adhered membranes correct at windows
- Weather resistant barrier per manufacturer
- Building paper lapped shingle style
- Sufficient end/side/corner laps
- Inside/outside corners wrapped tightly/uncut building dead loaded
- Insulation/drywall installed prior to stucco application
Field Pieces
- Weep screed below plate-line/behind WRB
- Sufficient clearance from grade
- Casing bead at terminations where required
- Pure zinc or vinyl trim in coastal areas
- Minimum lath weight 2.5 lbs./square yard
- Lath attached to framing members
- Fasteners engage three strands wire
- Control joints installed if specified
- Accessory butt splices/junctions sealed
- Provisions for drainage at exposed
- vertical surfaces
- Vertical control joints continuous
- Control joints wire tied
- Avoid long/narrow panels
- Right angle areas reinforced
- Horizontal surfaces sloped
- Plumbing/mechanical penetrations
sleeved/sealed
In part two, I will continue with the lathing and plastering (field pieces) but get much deeper.
Looking for a reprint of this article?
From high-res PDFs to custom plaques, order your copy today!


