Crowning Moment

Remembering several customers who were familiar with "old-time" crown and plaster cornice work, Johnston took some information with him on the product and soon decided to follow up and introduce the crown molding to his customers. Perhaps his company would finally be able to offer crown molding without the price and labor obstacles.

Divinyl intervention
According to Johnston, the market is currently evolving, with demand changing from stained wood to painted crown molding.
"The gentlemen I'd introduced it to, they were using painted wood crown mold," Johnston explains. "What this does is give a better finish and is more cost effective. From a time standpoint, it's ready to go. I don't need a carpenter to come in and put it up."
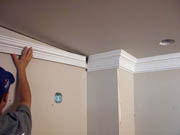
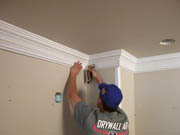
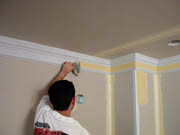
"They were coming in after the drywall was installed and painter primed, whereas now, we are installing the molding at the same time of the drywall installation and finishing. It's ready for primer once we walk out the door."
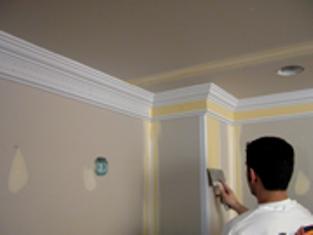
"We're perfecting the cuttings and designs we are able to achieve with the moldings," he explains. "We want to give the crown molding an effect of many members. With old-time plaster, you'd run several different members. Now, we can do it with vinyl and it's very cost-effective. Against plaster, it's unbelieveable and it's faster and more reasonable than wood."
Practice makes perfect
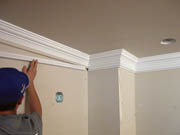
In Johnston's current project, he's introducing crown molding in the master bedroom ceiling, in addition to specialty rooms such as the dining room.
"Dining rooms typically have painted moldings, more of a classy look," Johnston says. "We're looking to do more wall panels in the future."
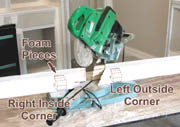
"We jumped into it," he continues, "and you learn as you go. As you increase the detail, it's a simple product to put up. We're trying to take it further. We tried several saw blades for our miter box and made up a couple of jigs for this. We want a perfect cut but we don't want to throw caulk into it. It cuts very similar to wood and it's a little more flexible but we're still perfecting our application approach."
Looking for a reprint of this article?
From high-res PDFs to custom plaques, order your copy today!