Lathing Components and Their Assembly
Controlling drainage in walls by using the right materials.

In a previous piece, I focused more on the substrate, which is critical to the stucco performance. Let me emphasize, thin structural wood panels (OSB or plywood) are the killer of a good stucco assembly, especially when not installed correctly, in my humble opinion.
Flimsy, unstable sheathing is not good for stucco but good for the builder’s cost. I’ve been a contractor for 25 years and one thing against my principles is applying stucco over OSB of any size or plywood less than 5/8-inch. Why? Because of experience—and when it cracks, I get the call.
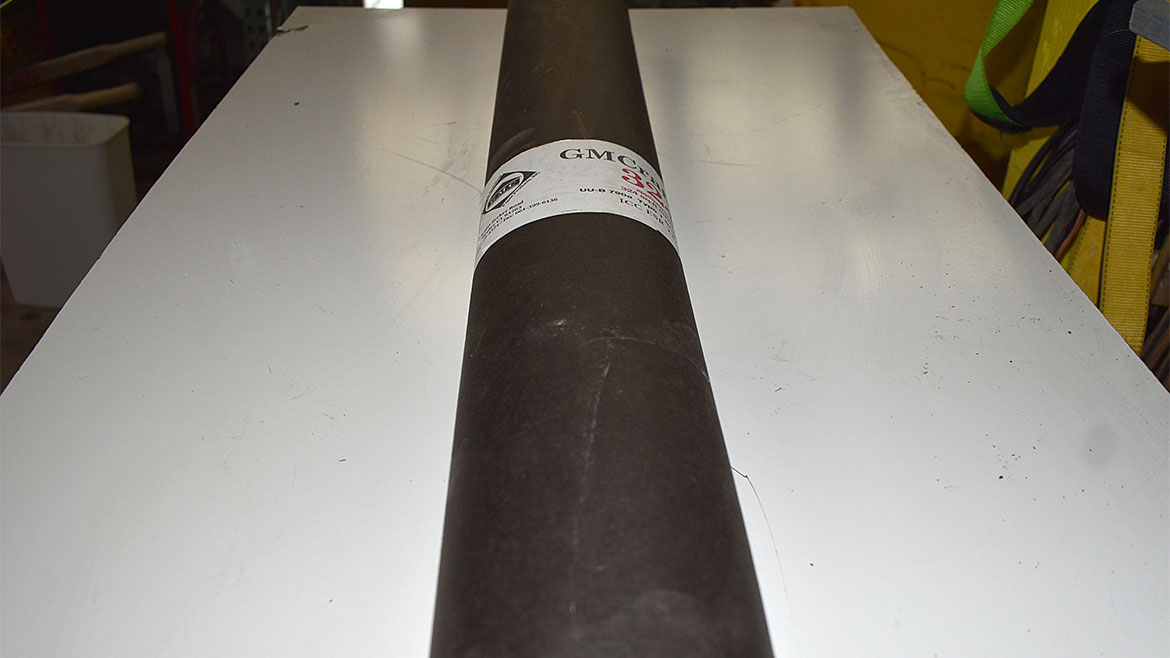
It’s almost impossible to keep it dry while stored on-site or after installation. Projects can take months or years to complete. Recent research has shown that after one period of wetting of OSB, degradation starts. The particles and chips of wood start to separate.
Although 7/16-inch sheathing is code-approved, the APA recommends upgrading to the thicker size when used behind stucco. This is found in the APA Technical Document Q 370G. The only reason it’s not adhered to is the cost to the builder. The city of Galveston, Texas, no longer permits OSB installation for exterior walls.
Head Flashing
Head flashing at windows is necessary in my region. It’s not usually under the scope of work for the stucco contractor. Some installers still turn head flashing down to direct water onto the WRB. This is within code. I prefer to provide “end dams” to direct water out of the system. With an end dam, the water will exit rather than be directed onto the WRB and possibly penetrate any flaws of the WRB.
There are many good WRB products out there, but they must only meet minimum requirements. Personally, I like fluid-applied products, integrated with all flashing, sheathing joint tape and fastener treatment. Tamlyn’s sheet products with a built-in rainscreen are quality products and my choice of sheet WRBs.
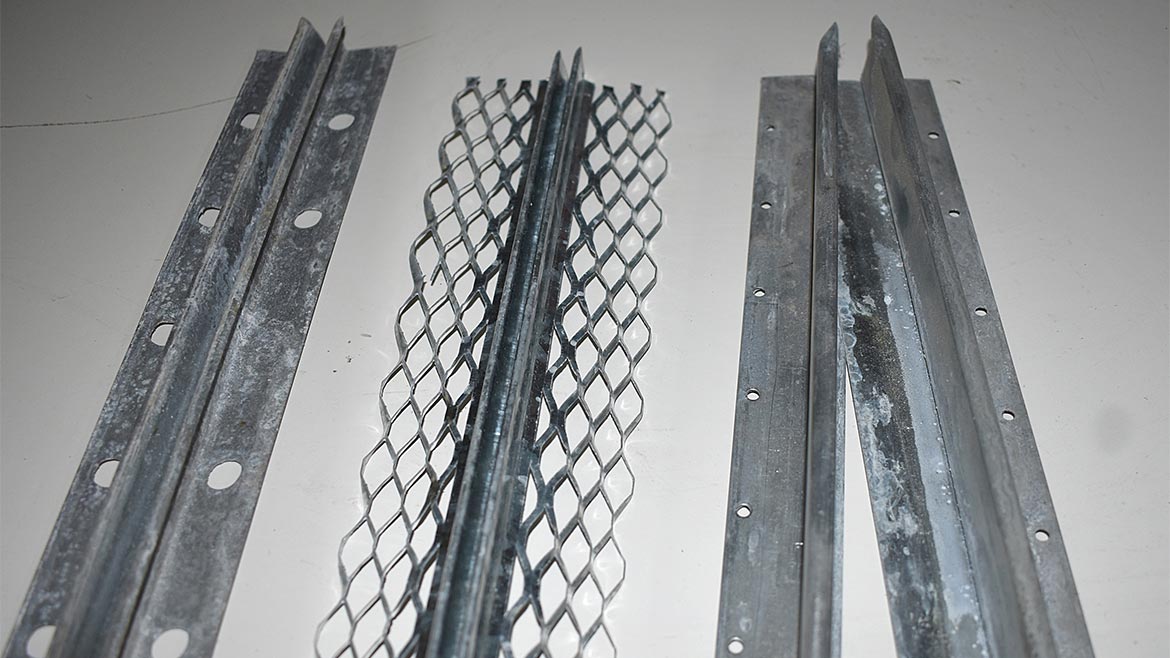
Metal Lath Without Backing
The lathing installation is crucial to the stucco performance. The lath is installed perpendicular to the framing members. Regional differences apply. For example, in Texas, for the most part, expanded metal lath is used, whereas on the West Coast, my counterparts out there use woven wire on residential (i.e., chicken wire). It’s code-approved lath for stucco or welded wire, such as “K lath.” Both products have proven to be excellent for performance. Keying of the cement is critical to protect the lath from corrosion. Keying, embedment and encapsulated are all different terminologies and are still debated among industry experts/leaders.
In my region of high winds, I choose to use screw attachments rather than roofing nails. Inland, staple attachment on wood frame is still acceptable. Windstorm engineers determine what fastener are acceptable. Contractors still typically attach to the sheathing rather than to the framing members, as the code requires. For some reason, the 1063 Committee does not recognize plywood or OSB as structural, whereas it’s OK to fasten shingles into plywood and meet wind loads. In Florida, the prescriptive attachment methods do not meet the wind load requirement of 160 Vult.
Paper-backed Lath
Paper-backed lath can be a touchy subject. The multi-family development consumes tons of it. Is it faster? Perhaps. It carries baggage with it (no criticism of the products) and the most common is improper installation. The material is produced to have paper extending 3 inches above the top and 3 inches extending past the right side, with the bottom and left side of the paper sheet cut 1½ inches short of the end of the metal lath (manufacture variations apply). Simple installation, or is it? Metal to metal and paper to paper is the concept. Improper lapping leads to cracking.
Often, in queue on the scaffold waiting for installation, paper-backed lath gets wet. This promotes separation of the paper backing from the lath. More often than that, the paper will tear as it is being pulled from the bundle. The standard states to “repair tears in the backing.” Let’s have a show of hands on how many times you’ve seen that done.
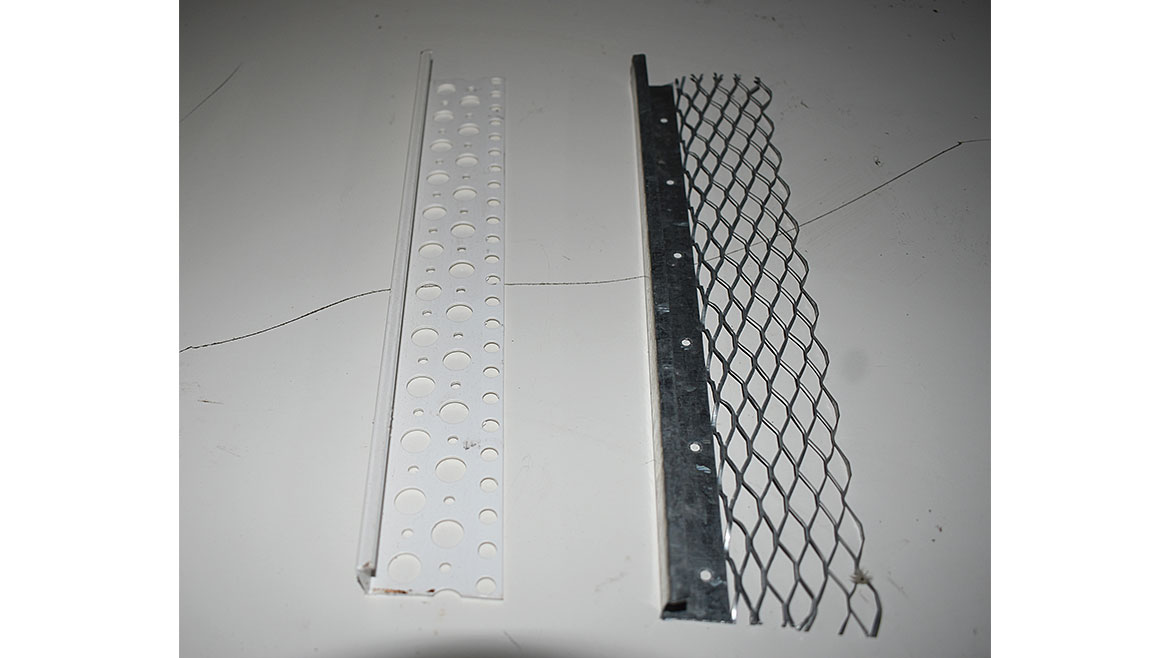
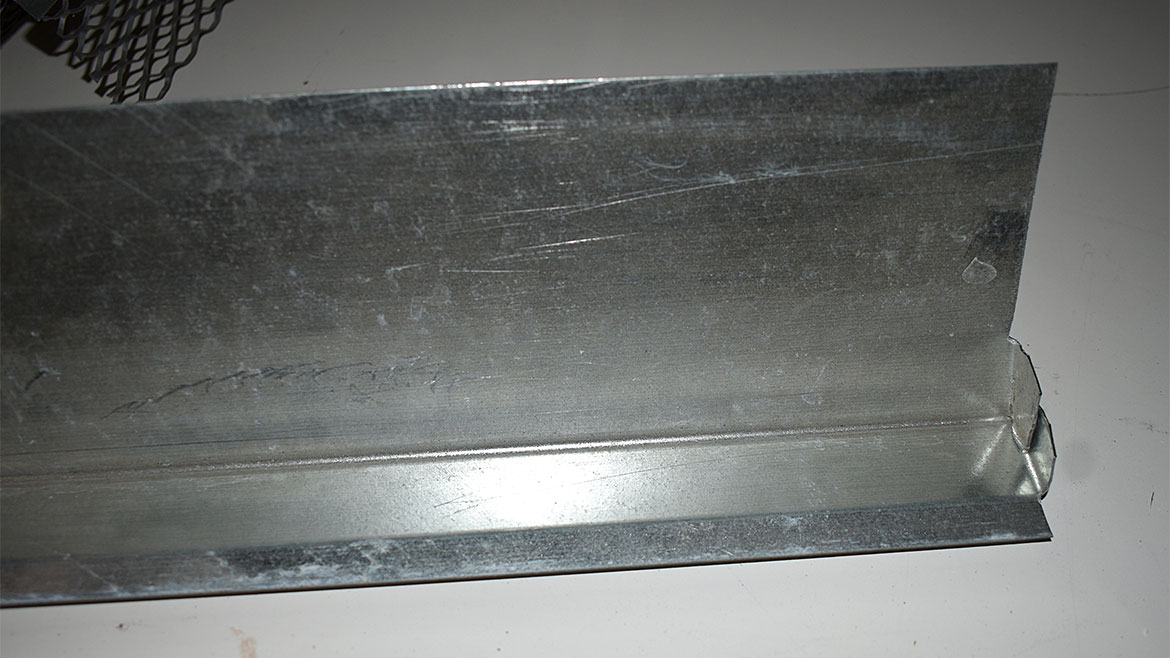
Weep Screeds
Weep screeds are required at the base of framed walls at the foundation line, hence “foundation weep screed.” This is commonly known as FHA #7. Consideration is within the committee to require FHA #7 at the base of all walls, including chimneys, walls above the roofline and columns.
Drainage Provisions
In 2009, language was inserted into the International Residential Code mandating all exterior wall systems, unless exempted by specific language in the code, to be constructed with a means of draining water that penetrates the system. Language added to the IRC in 2021 now requires three-coat stucco systems installed over wood sheathing to incorporate a defined drainage space in many instances. The new language does not apply to any other cladding systems and is a significant ramp-up over the 2009 text.
It’s been due for a long time. In my opinion, two layers of building paper or WRBs have never drained efficiently in my climate or any climate that exceeds 20 inches of annual rainfall, contrary to belief. The walls cannot dry prior to the next rainfall. The point is to manage water infiltration, not bulk water as we see in modern applications.
Drainage provisions are also code-required for stucco where any weather-exposed vertical surface returns to a stucco soffit. The key words are “provisions for drainage.” Some members want to be more specific, as to state “designated drainage accessory.” I say, what difference does it make how you provide drainage? In aftermarket retrofits or remediations, it often means that they are more cost-effective for the client, such as drilling weep holes or cutting a “V” groove into the stucco to promote drainage. Be prudent and protect your investment in high rainfall climates with a properly installed WRB and drainage medium.
Control Joints
The most common joint in my market is the #50 control joint. In other regions, they prefer the #75. The numerical designation refers to the depth. #50 = 1/2-inch and #75 = 3/4-inch. Both have a perforated solid flange. In some regions, the control joint is installed prior to the lath. In Houston, the control joint is installed over the lath. I prefer the XJ JJ #15 with the expanded metal flange for best performance.
ASTM 1063 states the “lath shall be separated at control joints” and the control joint shall be “wire tied” to the lath. Testing in Las Vegas by WCA and the Galveston Research Project, conducted by Zero Six Consulting and Diversified Plastering, both proved that cutting or not cutting the lath made no difference to the performance of the stucco wall performance. It did not eliminate cracks.
In Las Vegas, they tested different control joint attachments, whereas in Galveston, all our control joints were tied to the lath with wire. No difference was proven in stucco performance.
My esteemed colleague, Jim Daniel of Chicago, with years in R&D at USG and the PCA, told me the control joint has no influence on a stucco panel past 2.5 feet parallel to the control joint and shrinkage cracks are likely within the panel outside of that dimension. He was 100 percent accurate.
Casing Beads
In my region, casing beads (aka X66) are used at plaster terminations to allow for backer rods and sealants. Most often, it’s expanded flange casing beads.
When I say sealants, I mean exterior grade caulk. I use the term caulk for the painter for crown molding on the interior and sealants for the exterior to keep the water out. The painter, repairperson or laborer should not install sealants. It is a learned trade.
Some regions, such as the desert or Southern California, have no need for a visible sealant joint at windows to maintain and choose a “concealed sealant joint.”
Corner Reinforcement
This is accomplished in many ways. You may wrap the corner with the lath 2 feet and form the cement corner with a rod (as old-timers used to do), choose an X-1/X-2 cornerbead or a welded wire corner aid. The corner aid, in my opinion, makes a much better corner—but you must pack it full, not “buttered” over the top like so many young plasterers do. Most are produced in galvanized G90 as well. The nose of the wire should be buried 1/4 inch deep in cement. These corners rarely separate, whereas separation is often a problem with the X-1 and X-2 cornerbead. Sometimes product innovation for ease of installation has hurt the performance of stucco, but usually it’s the applicator, in my opinion.
Terminations
Considerations must be given to the stucco terminations at dissimilar materials and common joints, such as abutting brick. In my climate, a sealant joint is prudent to install. It’s not always detailed in the drawings. A 3/8-inch joint will suffice, but a minimum of 1/2 inch is better. Prepped, primed and packed with a backer rod is the prescriptive installation. In dry climates, an exposed sealant joint may be traded off for a concealed sealant joint. Technical documents address this. I only recommend it in climates with less than 5 inches of annual rainfall.
Summary
Regional practices are often proven, regardless of the code. The code is international. One size doesn’t fit all. Know the climate you build in and design accordingly. What works in Southern California doesn’t work in the harsh climate of the Gulf Coast, Southeast or where the freeze/thaw ratio exceeds 10 times a year.
The process might be easier to keep water out if all window manufacturers got on the same page and provided some training and QC in the field to the installers.
Looking for a reprint of this article?
From high-res PDFs to custom plaques, order your copy today!


